|
Your search criteria found 473 images Feature Name |
| My List |
Addition Date | Target |
Mission
|
Instrument | Size |

|
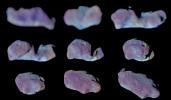
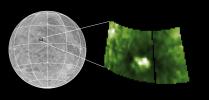
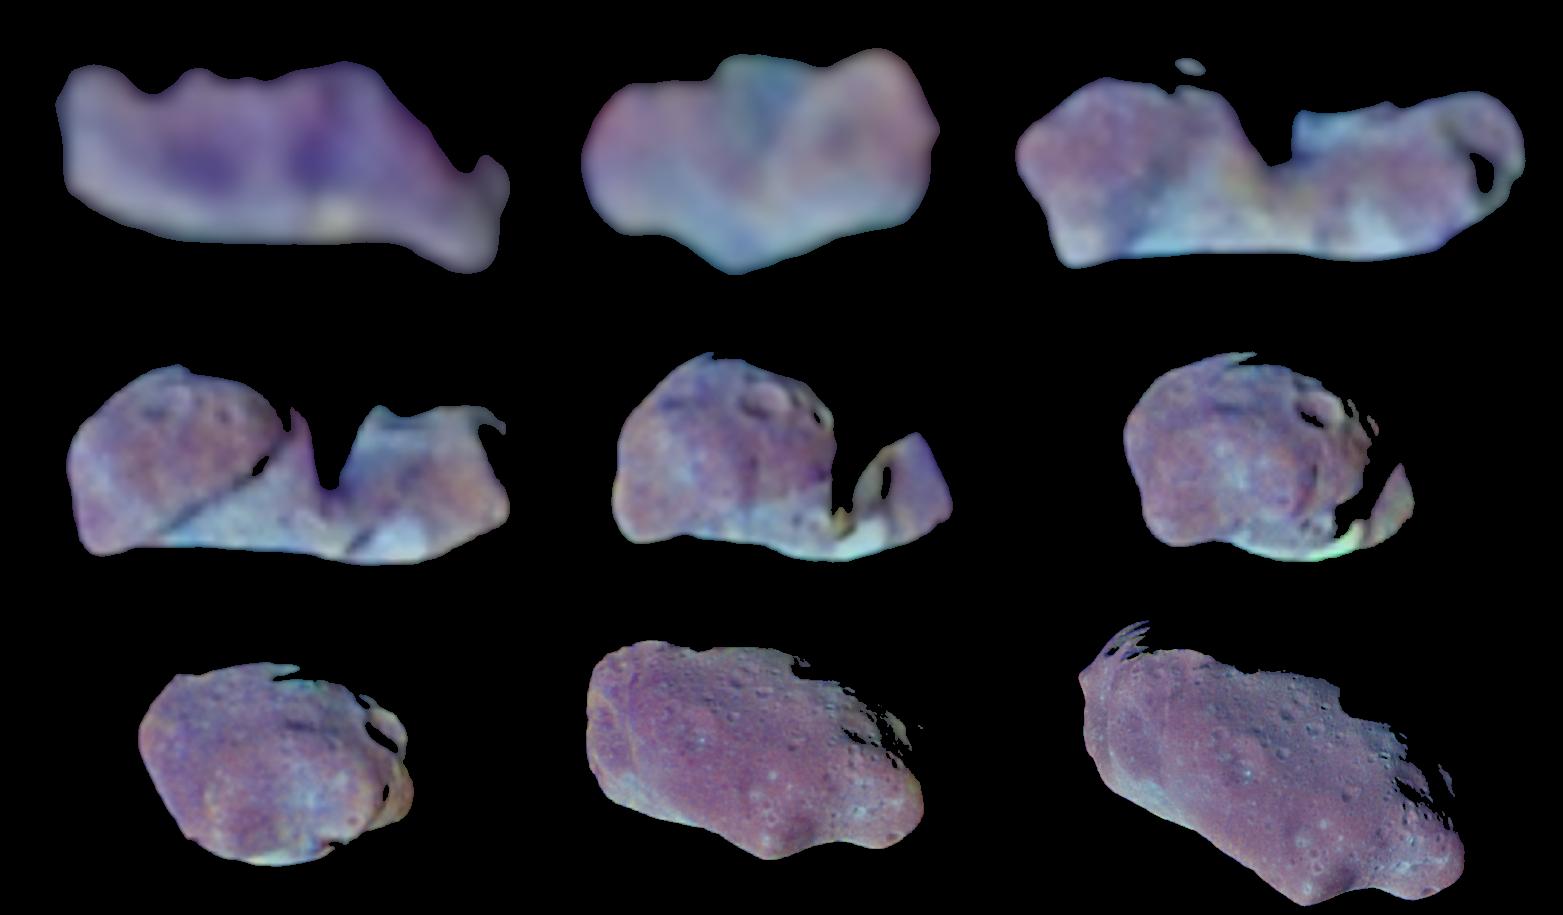
1998-06-04 | Ida |
Galileo |
Solid-State Imaging |
1563x915x3 |
|
|||||
|
|
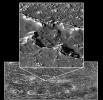
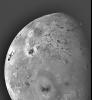
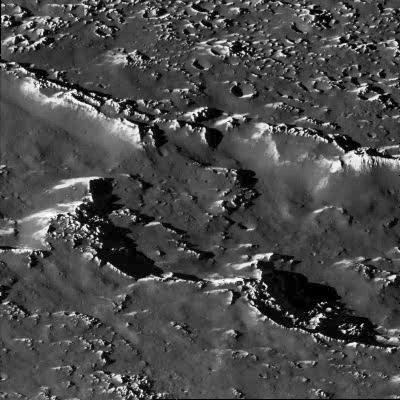
1997-12-18 | Callisto |
Galileo |
Solid-State Imaging |
400x400x1 |

|
|||||
|
|
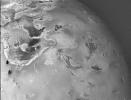
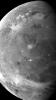
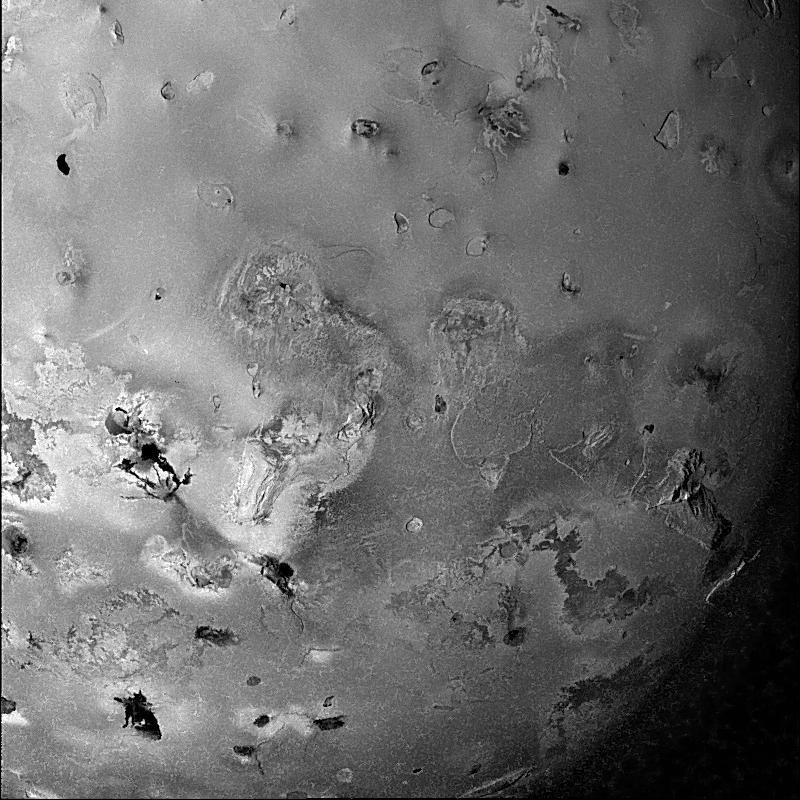
1997-12-18 | Io |
Galileo |
Solid-State Imaging |
800x800x1 |

|
|||||
|
|
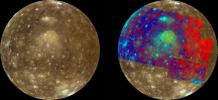
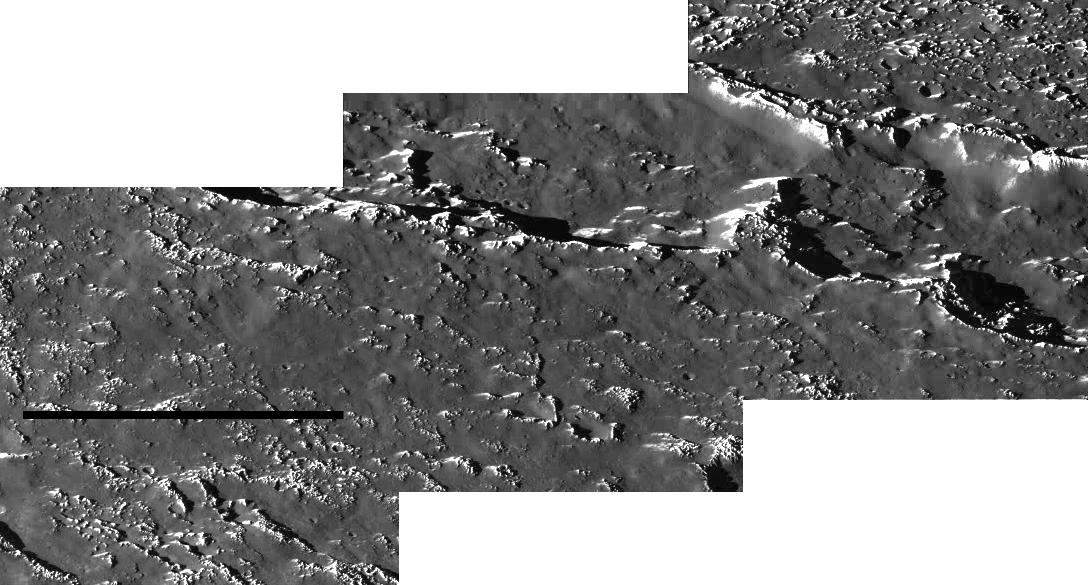
1997-12-18 | Callisto |
Galileo |
Solid-State Imaging |
1088x585x1 |

|
|||||
|
|
1997-12-18 | Callisto |
Galileo |
Solid-State Imaging |
800x780x1 |
|
|||||
|
|
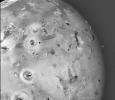
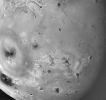
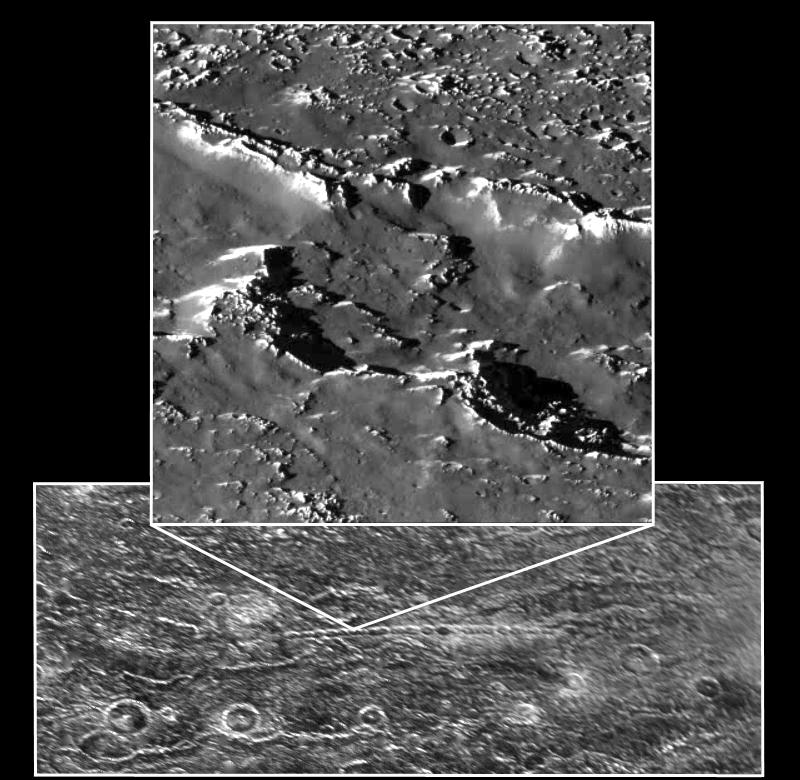
1997-12-18 | Io |
Galileo |
Solid-State Imaging |
1817x1817x3 |
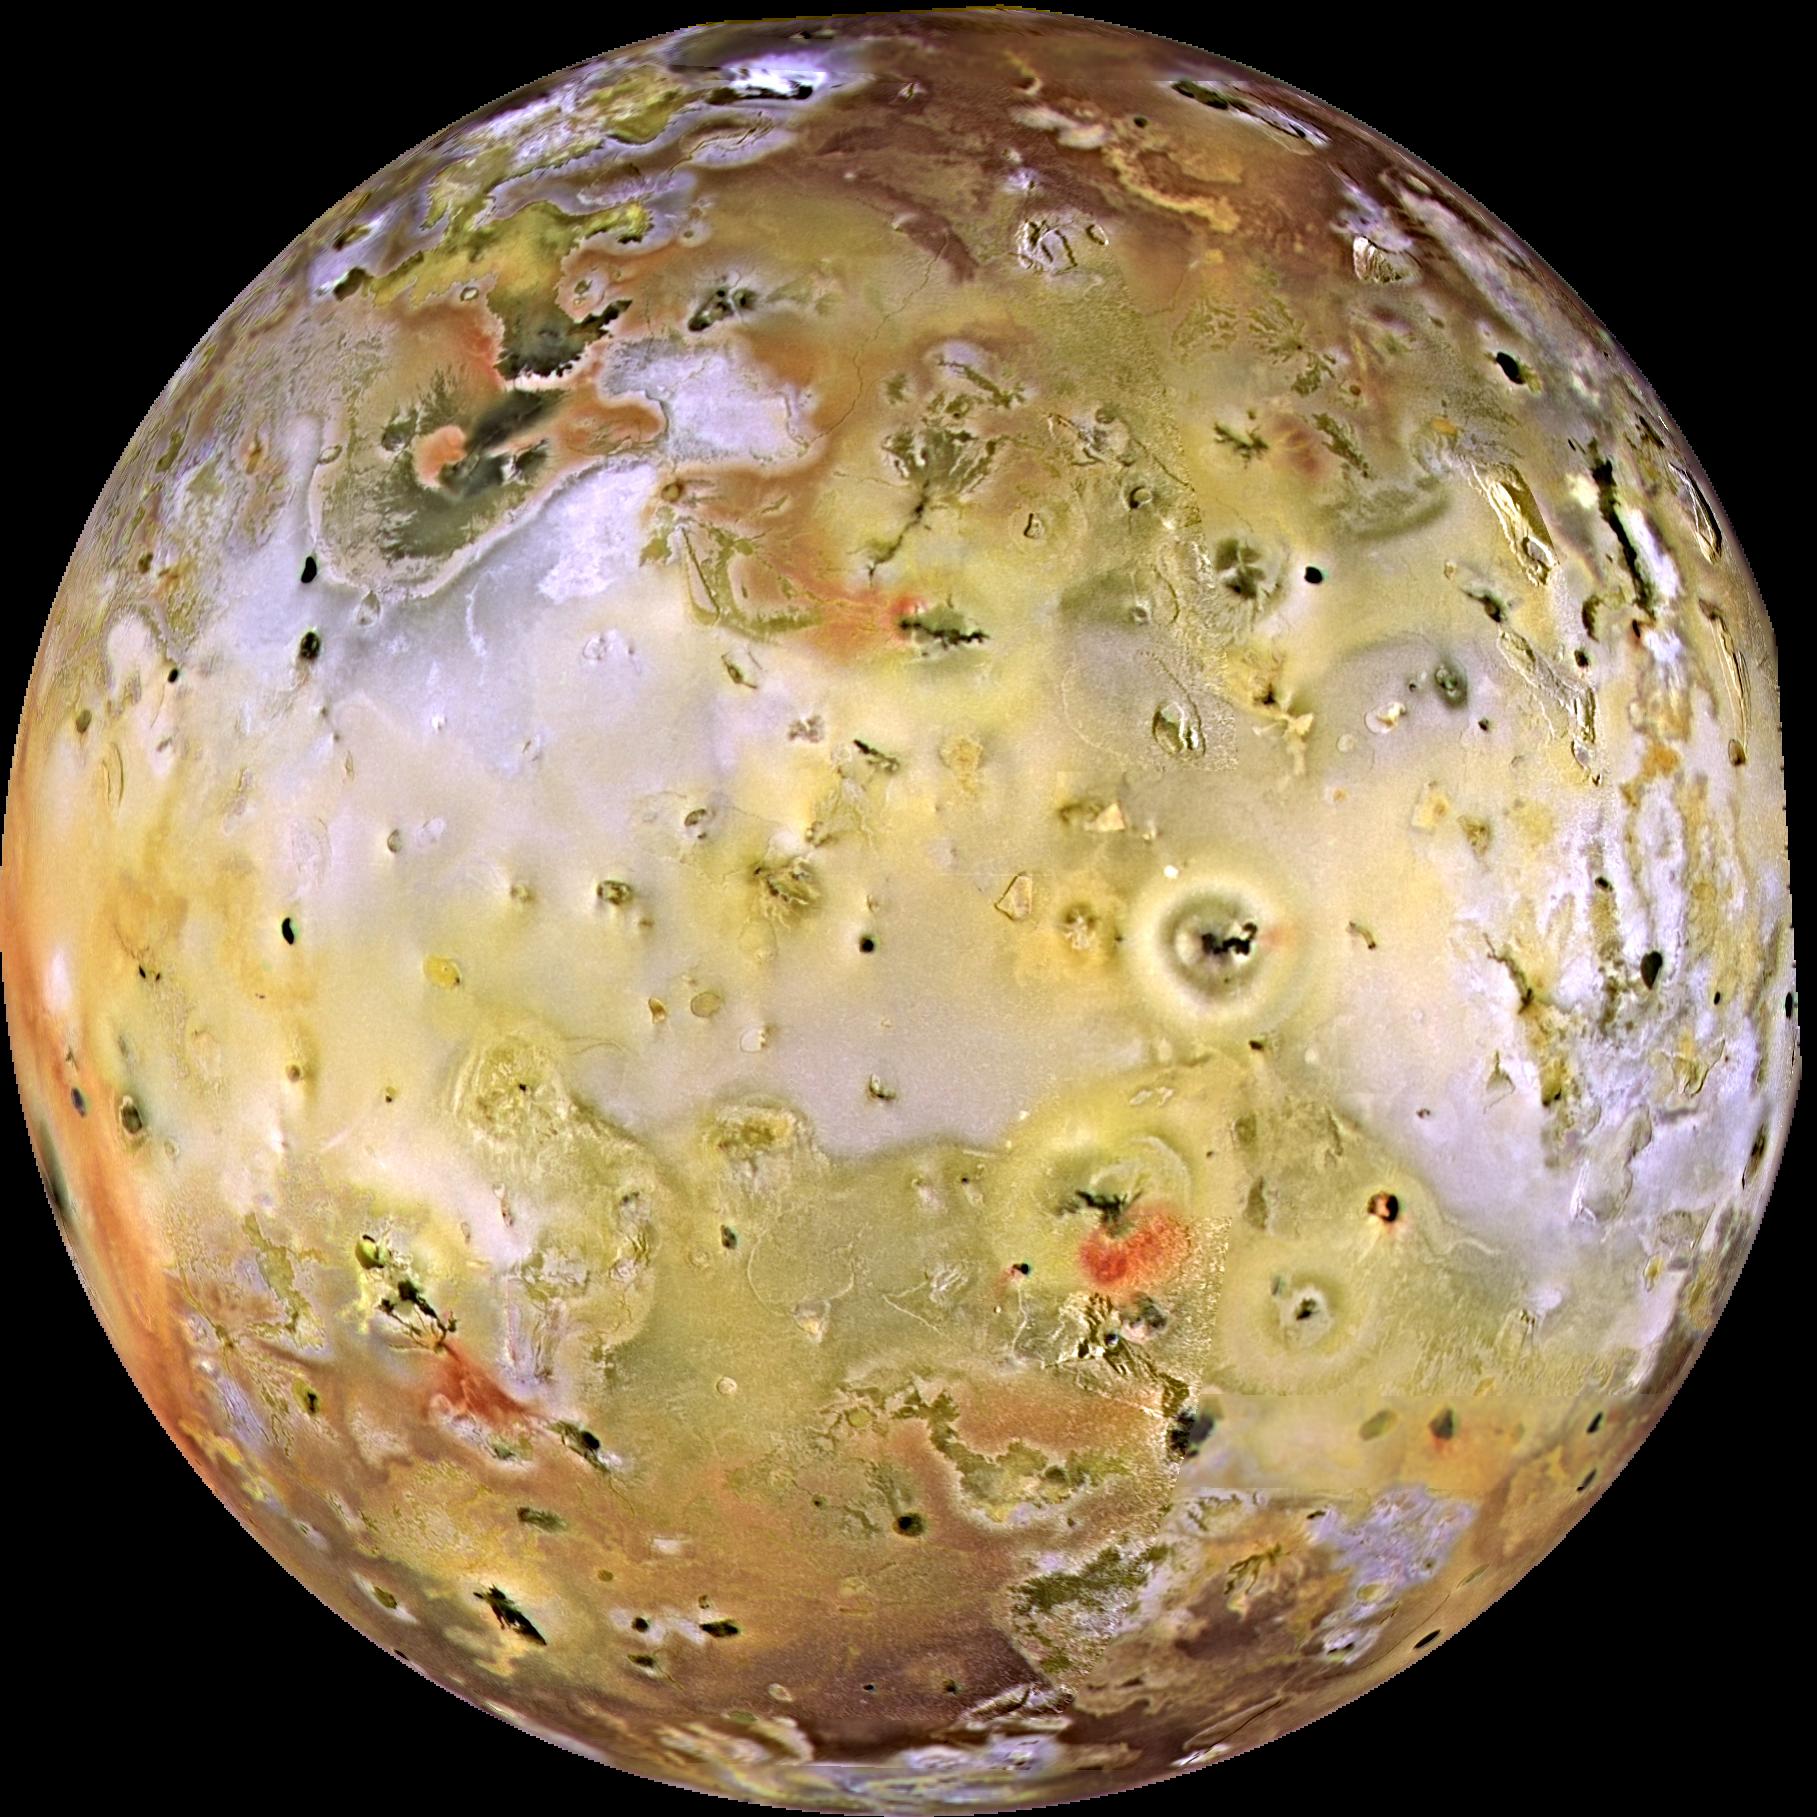
![Io, the most volcanic body in the solar system is seen in the highest resolution obtained to date [Sept.7 & Nov. 6, 1996] by NASA's Galileo spacecraft.](/thumb/PIA00583.jpg)
|
|||||
|
|
1998-03-26 | Europa |
Galileo |
Solid-State Imaging |
719x732x3 |
|
|||||
|
|
1998-02-04 | Io |
Galileo |
Solid-State Imaging |
2290x1308x3 |
|
|||||
|
|
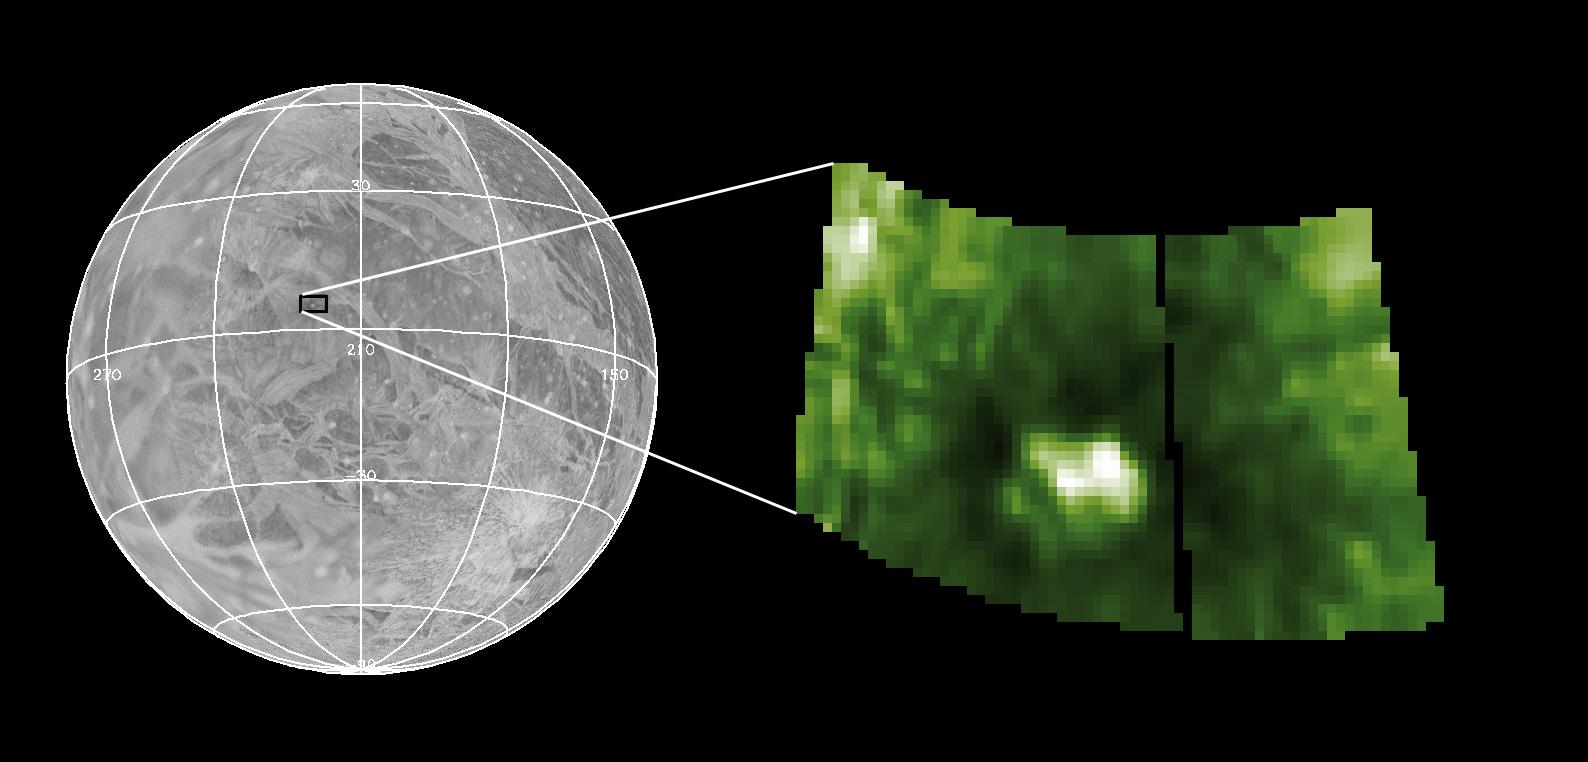
1998-03-26 | Ganymede |
Galileo |
Near Infrared Mapping Spectrometer |
1588x762x3 |
|
|||||
|
|
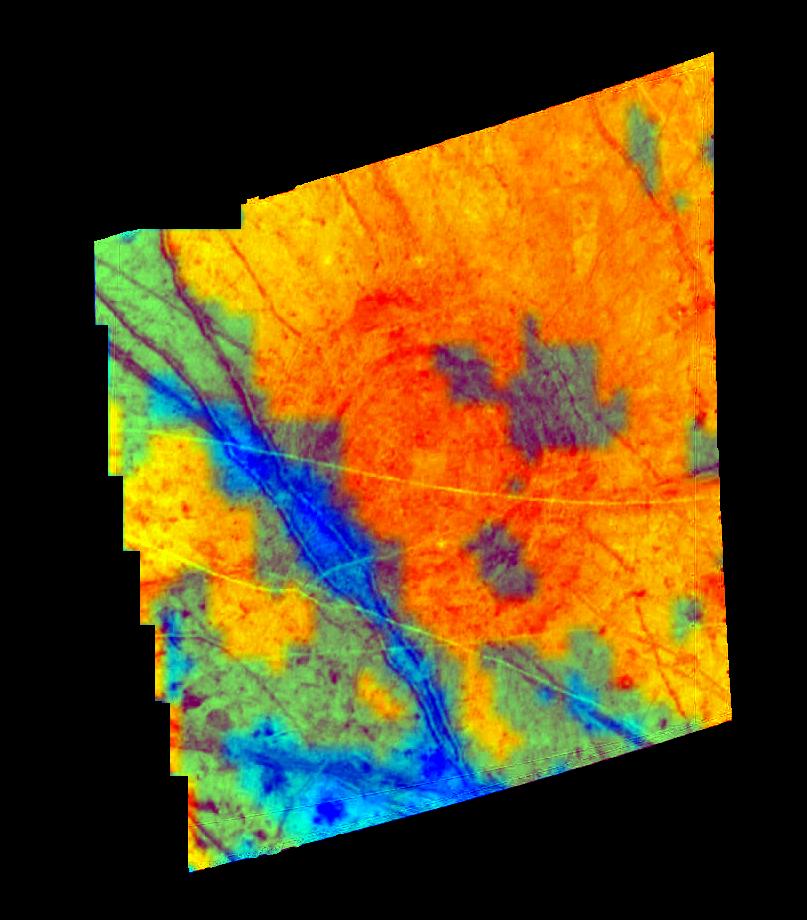
1998-03-26 | Ganymede |
Galileo |
Near Infrared Mapping Spectrometer |
445x525x1 |
|
|||||
|
|
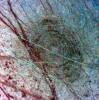
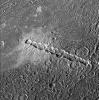
1997-12-10 | Europa |
Galileo |
Solid-State Imaging |
807x920x3 |

|
|||||
|
|
1997-12-18 | Io |
Galileo |
Solid-State Imaging |
743x647x1 |
|
|||||
|
|
1997-12-18 | Io |
Galileo |
Solid-State Imaging |
800x472x1 |
|
|||||
|
|
1997-12-18 | Io |
Galileo |
Solid-State Imaging |
800x615x1 |
|
|||||
|
|
1997-12-18 | Io |
Galileo |
Solid-State Imaging |
797x752x1 |
|
|||||
|
|
1997-12-18 | Io |
Galileo |
Solid-State Imaging |
685x752x1 |
|
|||||
|
|
1998-05-08 | Callisto |
Galileo |
Solid-State Imaging |
749x344x3 |
|
|||||
|
|
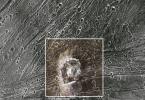
1998-07-15 | Ganymede |
Galileo |
Solid-State Imaging |
790x1413x1 |
|
|||||
|
|
1998-07-15 | Ganymede |
Galileo |
Solid-State Imaging |
392x398x1 |
|
|||||
|
|
1998-07-15 | Ganymede |
Galileo |
Solid-State Imaging |
692x480x3 |
|
|||||
|
|
1998-07-15 | Ganymede |
Galileo |
Solid-State Imaging |
615x519x1 |

|
|||||
|
|
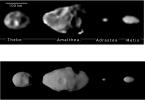
1998-09-15 | Amalthea |
Galileo |
Solid-State Imaging |
1539x1066x1 |
|
|||||
|
|
1998-09-15 | Amalthea |
Galileo |
Solid-State Imaging |
1539x802x1 |

|
|||||
|
|
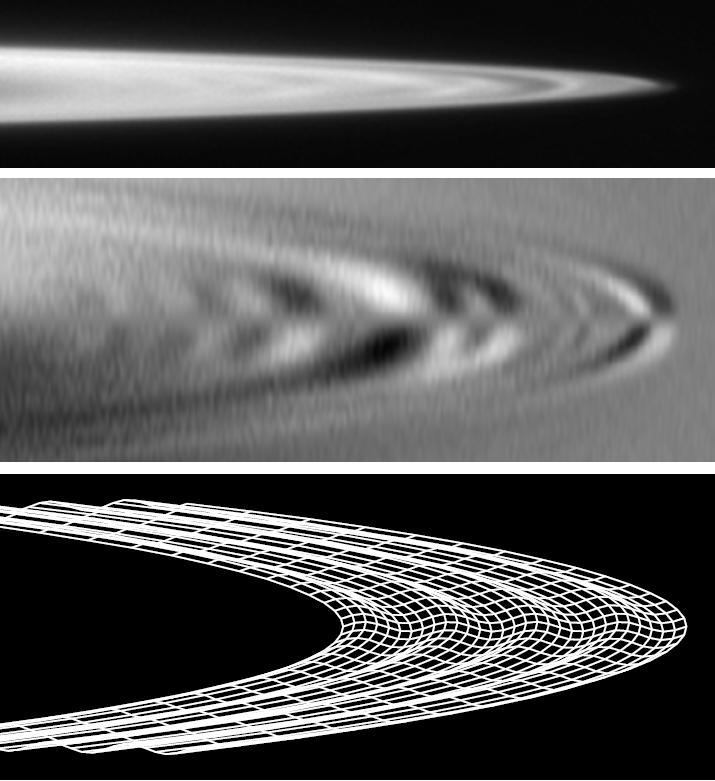
1998-09-15 | J Rings |
Galileo |
Solid-State Imaging |
2560x1920x3 |
|
|||||
|
|
1998-09-15 | J Rings |
Galileo |
Solid-State Imaging |
1800x2700x3 |
|
|||||
|
|
1998-10-13 | Callisto |
Galileo |
Solid-State Imaging |
6490x13101x1 |

|
|||||
|
|
1999-10-07 | Callisto |
Galileo |
Solid-State Imaging |
1440x669x1 |
|
|||||
|
|
1999-10-07 | Callisto |
Galileo |
Solid-State Imaging |
449x449x1 |
|
|||||
|
|
1999-10-07 | Ganymede |
Galileo |
Solid-State Imaging |
590x900x1 |
|
|||||
|
|
1999-10-07 | Ganymede |
Galileo |
Solid-State Imaging |
1078x900x1 |
|
|||||
|
|
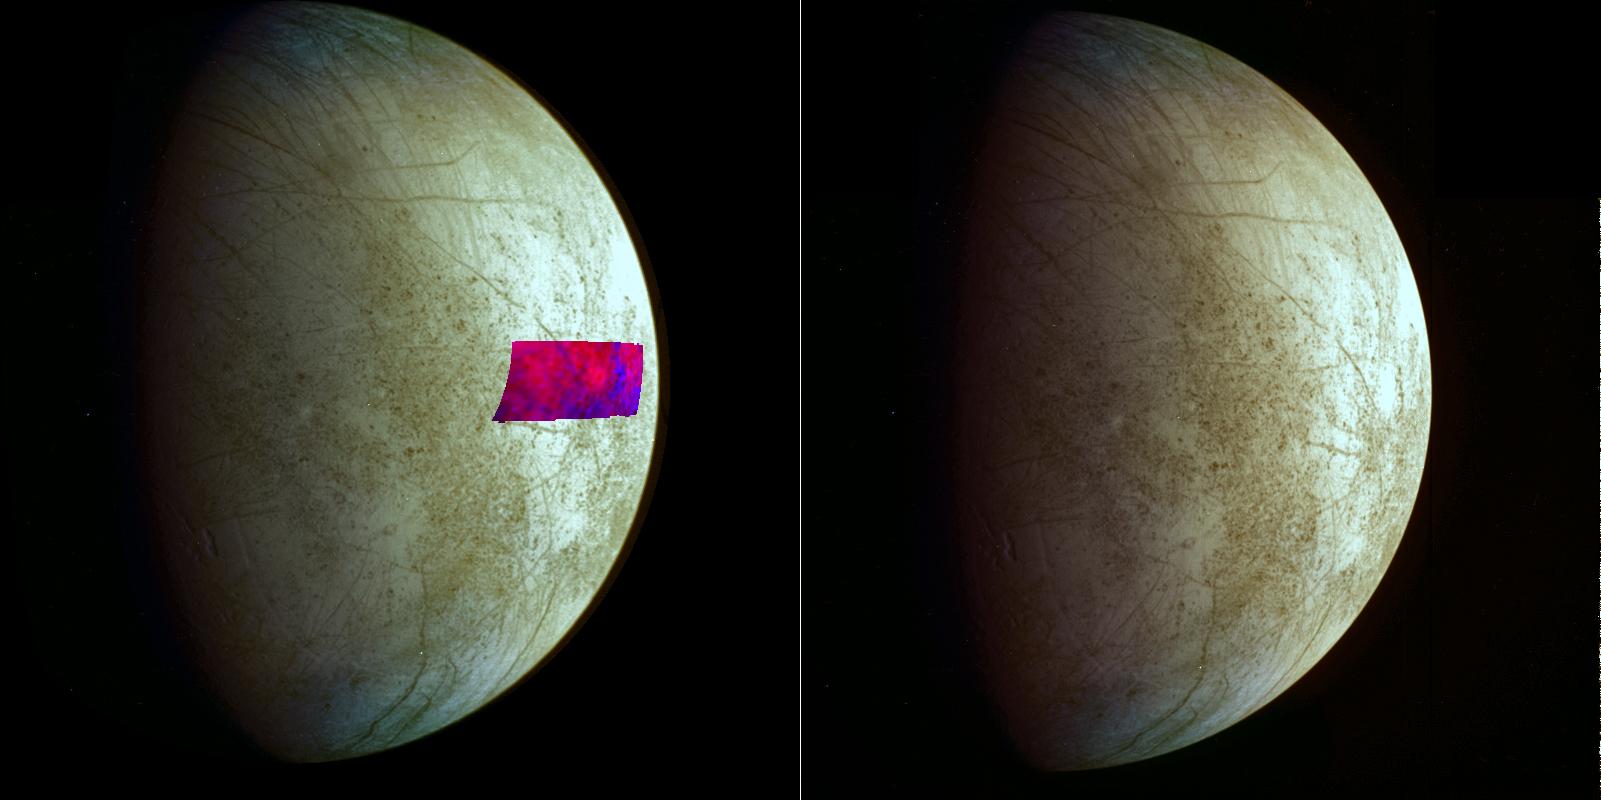
2000-07-10 | Europa |
Galileo |
Near Infrared Mapping Spectrometer |
950x650x3 |
|
|||||
|
|
2011-03-31 | J Rings |
Galileo |
Solid-State Imaging |
715x781x1 |
|
|||||
|
|
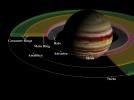
2011-03-31 | Jupiter |
Galileo |
2610x4104x3 | |
|
|||||
|
|
2013-12-11 | Europa |
Galileo |
2208x2292x3 | |
|
|||||
|
|
2013-12-11 | Europa |
Galileo |
Near Infra-Red Mapping Spectrometer |
1601x800x3 |
|
|||||
|
|
2017-02-08 | Europa |
Galileo |
Solid-State Imaging |
1338x2619x1 |
|
|||||
|
|
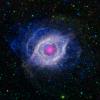
2012-10-03 |
Galaxy Evolution Explorer (GALEX) Spitzer Space Telescope |
IRAC Ultraviolet/Visible Camera |
6019x6019x3 | |
|
|||||
|
|
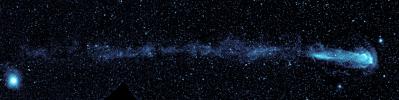
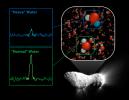
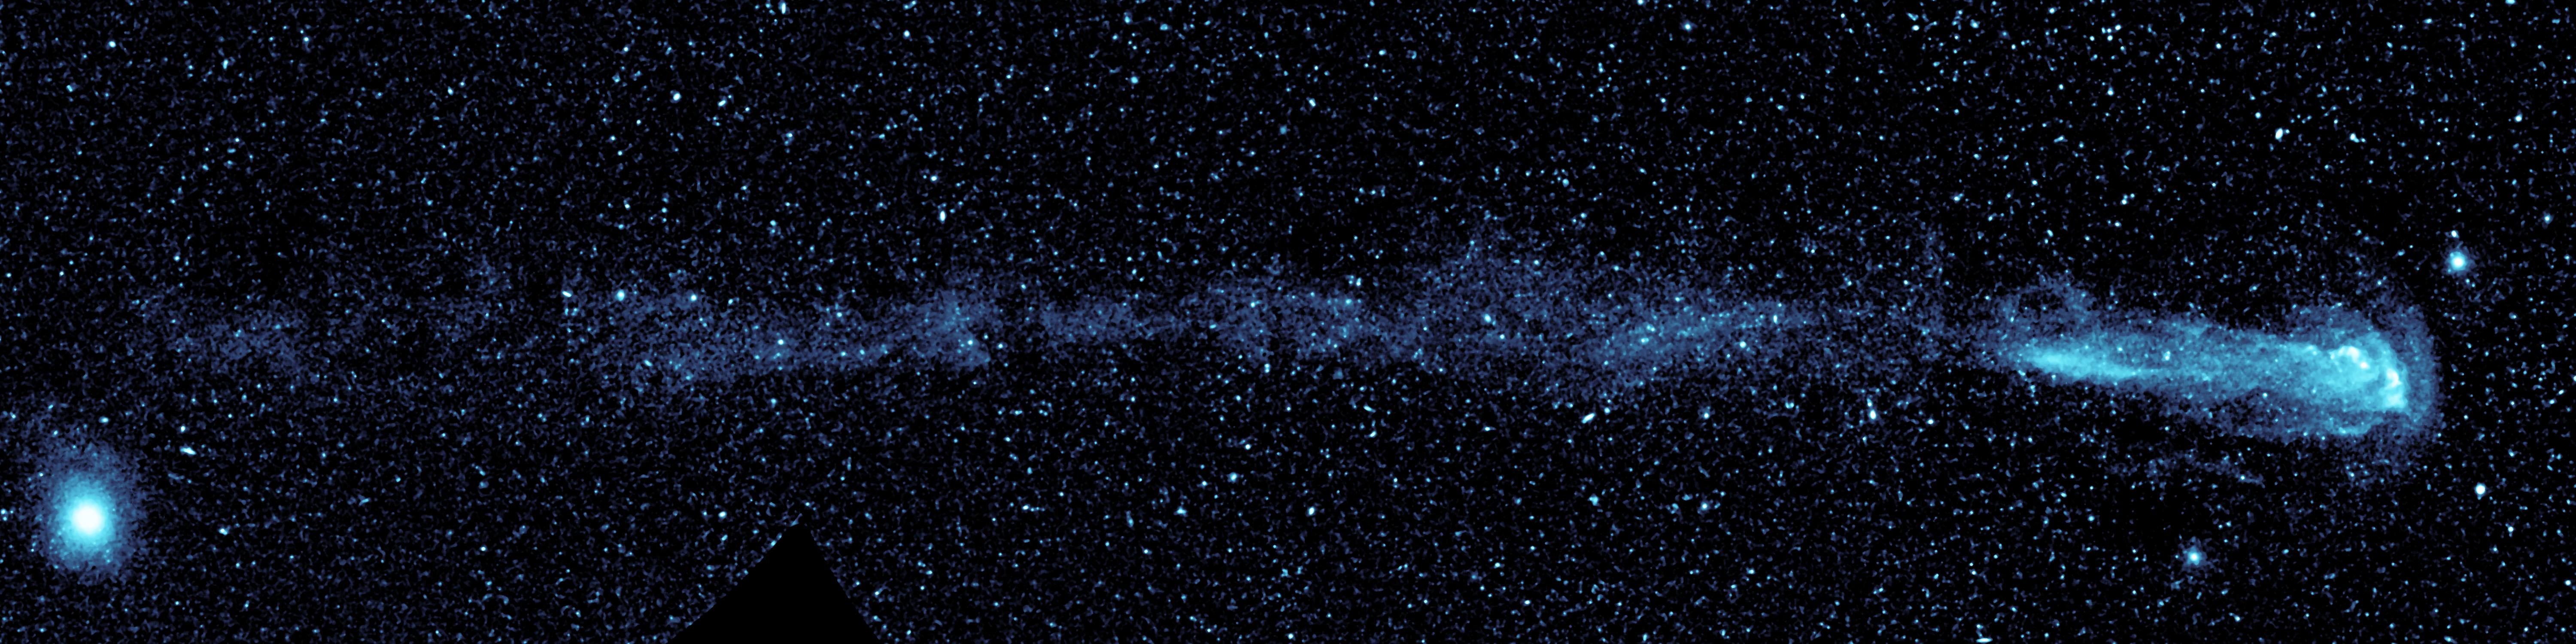
2007-08-15 | Mira |
Galaxy Evolution Explorer (GALEX) |
Ultraviolet/Visible Camera |
6000x1500x3 |
|
|||||
|
|
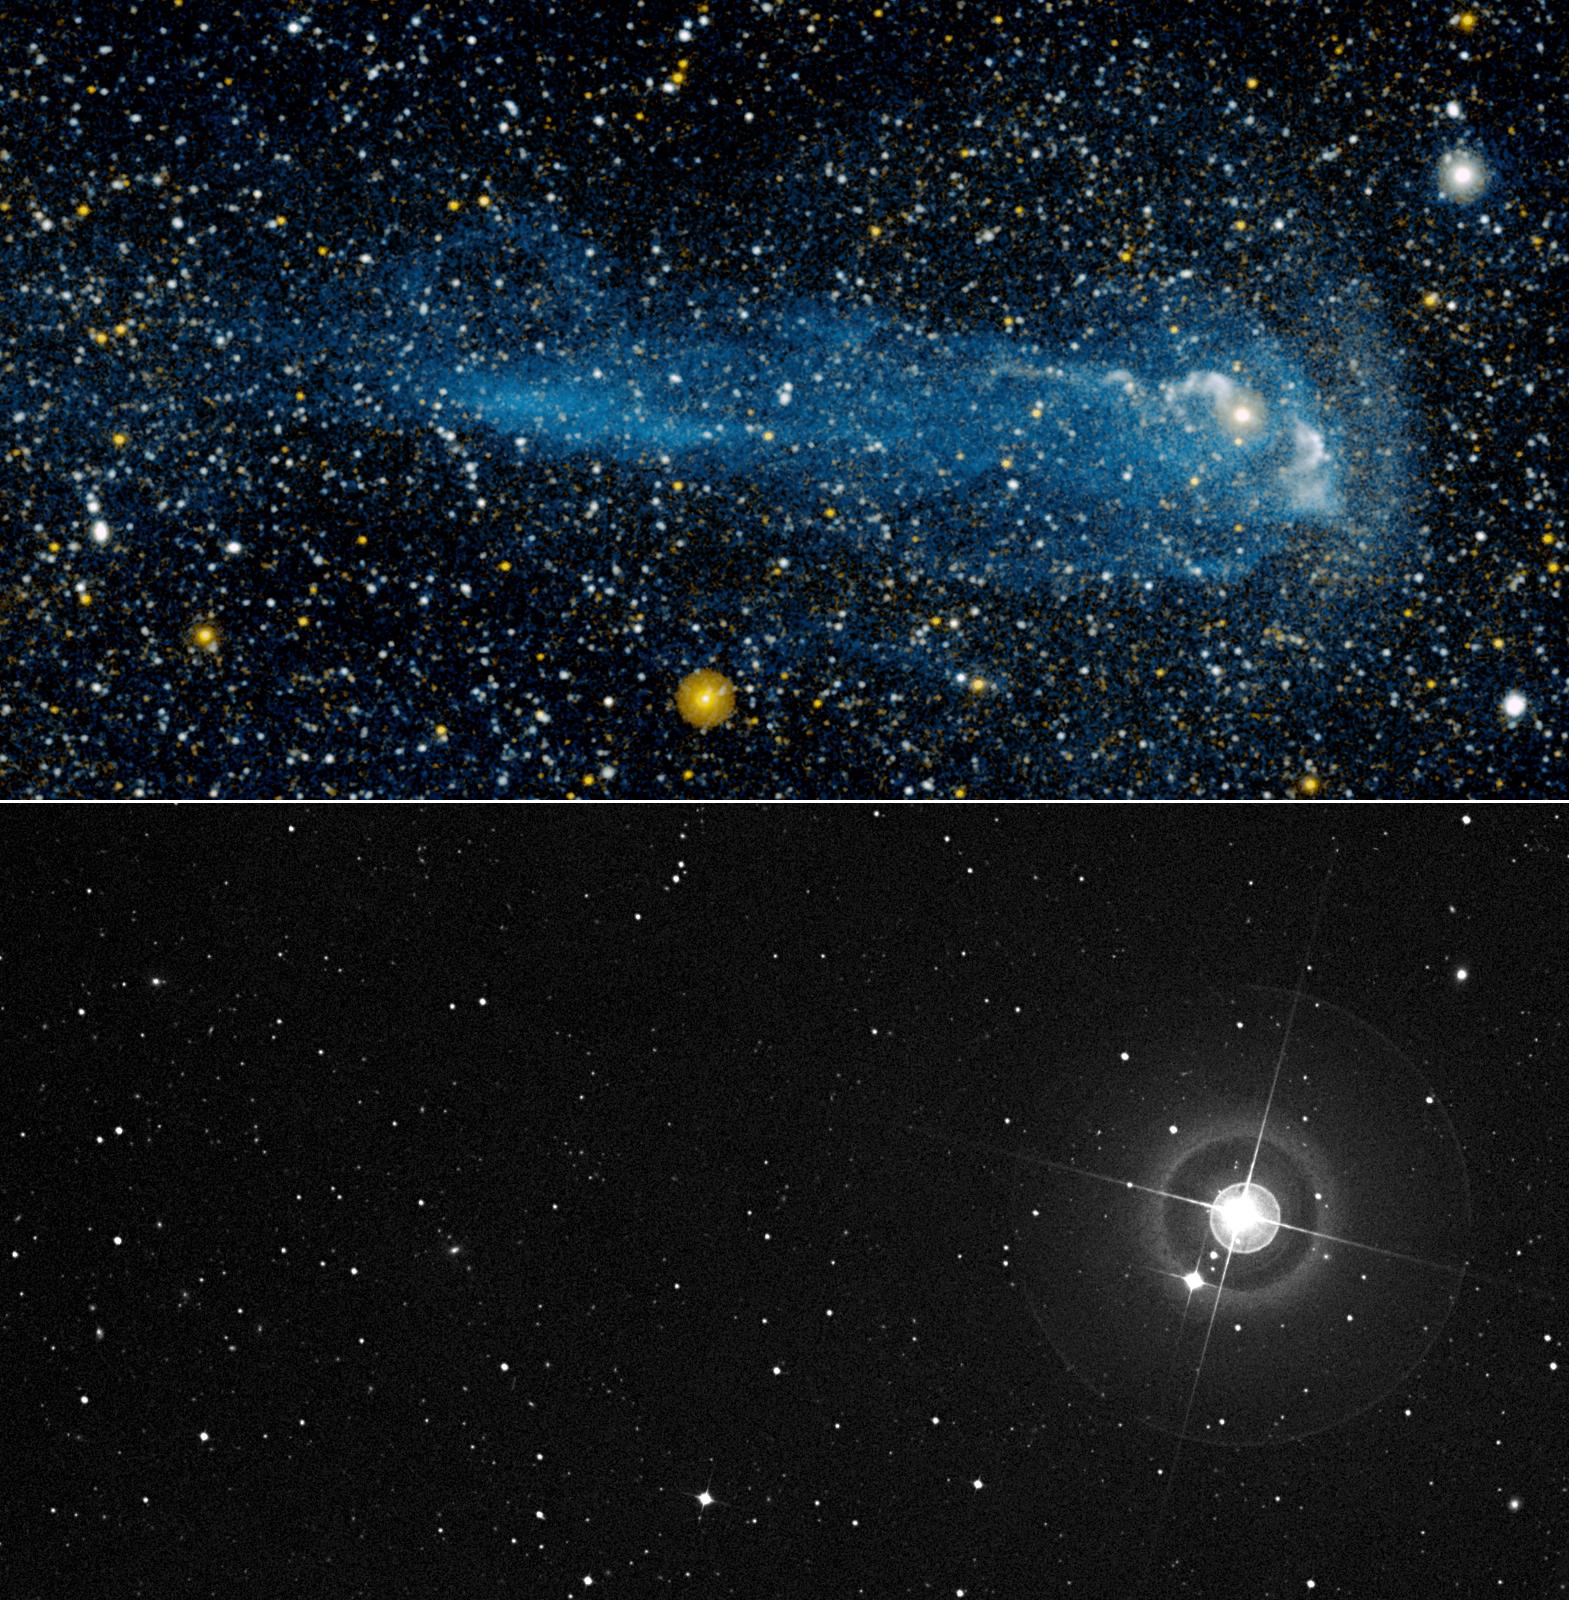
2007-08-15 | Mira |
Galaxy Evolution Explorer (GALEX) |
Ultraviolet/Visible Camera |
1569x1600x3 |

|
|||||
|
|
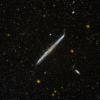
2013-06-28 |
Galaxy Evolution Explorer (GALEX) |
GALEX Telescope |
1500x1500x3 | |
|
|||||
|
|
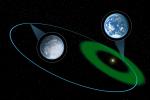
2012-09-11 |
Exoplanet |
3600x2400x3 | ||
|
|||||
|
|
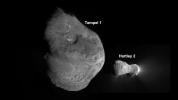
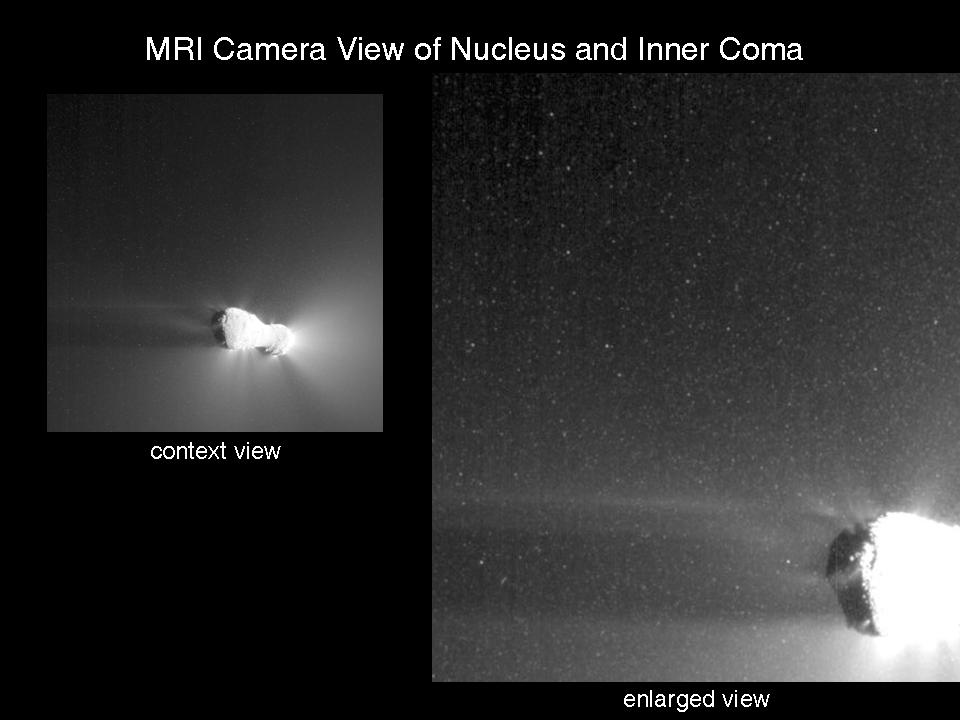
2011-10-05 | Tempel 1 |
EPOXI Herschel Space Observatory |
Medium Resolution Instrument (MRI) |
3300x2550x3 |
|
|||||
|
|
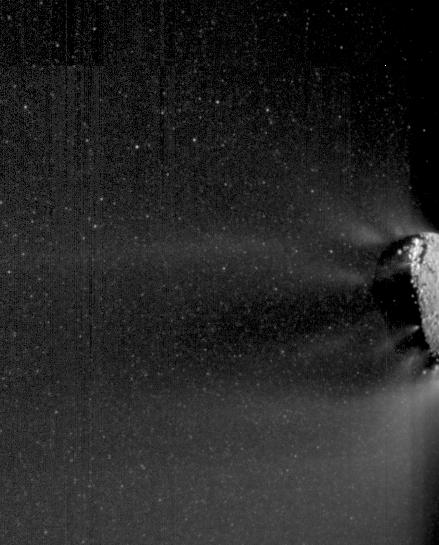
2011-10-05 | Tempel 1 |
EPOXI Herschel Space Observatory |
Medium Resolution Instrument (MRI) |
3200x1800x3 |

|
|||||
|
|
2010-10-26 | Tempel 1 |
EPOXI |
631x360x3 | |

|
|||||
|
|
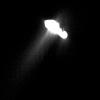
2010-10-26 | Hartley 2 |
EPOXI |
Medium Resolution Instrument (MRI) |
642x552x1 |
|
|||||
|
|
2010-10-26 | Hartley 2 |
EPOXI |
600x338x3 | |

|
|||||
|
|
2010-11-03 | Hartley 2 |
EPOXI |
512x512x1 | |
|
|||||
|
|
2010-11-04 | Hartley 2 |
EPOXI |
High Resolution Instrument (HRI) Medium Resolution Instrument (MRI) |
1274x535x1 |
|
|||||
|
|
2010-11-04 | Hartley 2 |
EPOXI |
Medium Resolution Instrument (MRI) |
501x501x1 |

|
|||||
|
|
2010-11-04 | Hartley 2 |
EPOXI |
High Resolution Instrument (HRI) Medium Resolution Instrument (MRI) |
680x548x3 |
|
|||||
|
|
2010-11-04 | Hartley 2 |
EPOXI |
High Resolution Instrument (HRI) |
640x327x3 |

|
|||||
|
|
2010-11-04 | Hartley 2 |
EPOXI |
Medium Resolution Instrument (MRI) |
2999x2249x3 |

|
|||||
|
|
2010-11-04 | Hartley 2 |
EPOXI |
Medium Resolution Instrument (MRI) |
2999x2249x3 |
|
|||||
|
|
2010-11-04 | Hartley 2 |
EPOXI |
2999x2249x1 | |

|
|||||
|
|
2010-11-04 | Hartley 2 |
EPOXI |
Medium Resolution Instrument (MRI) |
2999x2249x1 |
|
|||||
|
|
2010-11-05 | Hartley 2 |
EPOXI |
Medium Resolution Instrument (MRI) |
501x501x1 |

|
|||||
|
|
2010-11-05 | Hartley 2 |
EPOXI |
Medium Resolution Instrument (MRI) |
501x501x1 |
|
|||||
|
|
2010-11-05 | Hartley 2 |
EPOXI |
Medium Resolution Instrument (MRI) |
501x501x1 |

|
|||||
|
|
2010-11-05 | Hartley 2 |
EPOXI |
Medium Resolution Instrument (MRI) |
501x501x1 |

|
|||||
|
|
2010-11-05 | Hartley 2 |
EPOXI |
Medium Resolution Instrument (MRI) |
513x448x1 |
|
|||||
|
|
2010-11-18 | Hartley 2 |
EPOXI |
High Resolution Instrument (HRI) |
928x496x1 |
|
|||||
|
|
2010-11-18 | Hartley 2 |
EPOXI |
High Resolution Instrument (HRI) |
920x920x1 |

|
|||||
|
|
2010-11-18 | Hartley 2 |
EPOXI |
Medium Resolution Instrument (MRI) |
960x720x1 |

|
|||||
|
|
2010-11-18 | Hartley 2 |
EPOXI |
High Resolution Instrument (HRI) |
529x400x1 |
|
|||||
|
|
2010-11-18 | Hartley 2 |
EPOXI |
Medium Resolution Instrument (MRI) |
439x545x1 |

|
|||||
|
|
2010-11-18 | Hartley 2 |
EPOXI |
Medium Resolution Instrument (MRI) |
864x625x1 |
|
|||||
|
|
2010-11-18 | Hartley 2 |
EPOXI |
Medium Resolution Instrument (MRI) |
456x722x3 |
|
|||||
|
|
2010-11-18 | Tempel 1 |
EPOXI |
Medium Resolution Instrument (MRI) |
1280x720x1 |
|
|||||
|
|
2018-04-12 | Earth |
ENVISAT |
2367x1334x3 | |
|
|||||
|
|
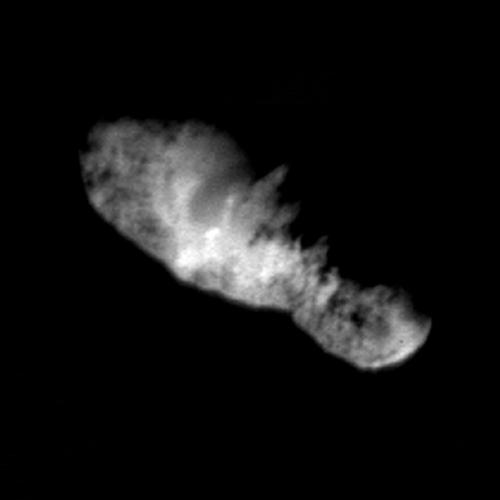
2001-11-04 | Borrelly |
Deep Space 1 (DS1) |
Miniature Integrated Camera Spectrometer |
500x500x1 |

|
|||||
|
|
2001-11-03 | Borrelly |
Deep Space 1 (DS1) |
Miniature Integrated Camera Spectrometer |
500x500x1 |
|
|||||
|
|
2001-11-03 | Borrelly |
Deep Space 1 (DS1) |
Miniature Integrated Camera Spectrometer |
640x480x3 |
|
|||||
|
|
2001-11-03 | Borrelly |
Deep Space 1 (DS1) |
Miniature Integrated Camera Spectrometer |
640x480x3 |
|
|||||
|
|
2001-11-03 | Borrelly |
Deep Space 1 (DS1) |
Miniature Integrated Camera Spectrometer |
500x500x1 |
|
|||||
|
|
2001-11-03 | Borrelly |
Deep Space 1 (DS1) |
Miniature Integrated Camera Spectrometer |
500x500x1 |

|
|||||
|
|
2001-11-03 | Borrelly |
Deep Space 1 (DS1) |
Miniature Integrated Camera Spectrometer |
500x500x1 |
|
|||||
|
|
2002-10-08 | Borrelly |
Deep Space 1 (DS1) |
Miniature Integrated Camera Spectrometer |
600x600x3 |
|
|||||
|
|
2003-05-09 | Borrelly |
Deep Space 1 (DS1) |
Star Tracker |
1400x1050x3 |

|
|||||
|
|
2003-07-02 | Borrelly |
Deep Space 1 (DS1) |
Ion Engine |
1418x1112x3 |
|
|||||
|
|
2005-01-21 |
Deep Impact |
1920x2560x3 | ||
|
|||||
|
|
2005-01-18 | Tempel 1 |
Deep Impact |
Hale Telescope 200-inch |
224x319x3 |
|
|||||
|
|
2005-04-26 | M11 |
Deep Impact |
Impactor Targeting Sensor (ITS) |
1000x1000x1 |
|
|||||
|
|
2005-04-27 | Tempel 1 |
Deep Impact |
Medium Resolution Instrument (MRI) |
750x750x1 |

|
|||||
|
|
2005-04-27 | Tempel 1 |
Deep Impact |
Impactor Targeting Sensor (ITS) |
872x714x1 |
|
|||||
|
|
2005-05-09 | Tempel 1 |
Deep Impact |
8598x5732x3 | |
|
|||||
|
|
2005-06-02 | Tempel 1 |
Deep Impact |
2696x1921x3 | |
|
|||||
|
|
2005-06-16 | Tempel 1 |
Deep Impact |
Medium Resolution Instrument (MRI) |
512x512x1 |
|
|||||
|
|
2005-06-17 | Tempel 1 |
Deep Impact |
Medium Resolution Instrument (MRI) |
492x492x1 |
|
|||||
|
|
2005-06-17 | Tempel 1 |
Deep Impact |
Medium Resolution Instrument (MRI) |
512x512x1 |
|
|||||
|
|
2005-06-19 | Tempel 1 |
Deep Impact |
Medium Resolution Instrument (MRI) |
512x512x1 |

|
|||||
|
|
2005-06-20 | Tempel 1 |
Deep Impact |
Medium Resolution Instrument (MRI) |
512x512x1 |

|
|||||
|
|
2005-06-24 | Tempel 1 |
Deep Impact |
Medium Resolution Instrument (MRI) |
512x512x1 |
|
|||||
|
|
2005-06-25 | Tempel 1 |
Deep Impact |
Medium Resolution Instrument (MRI) |
512x512x1 |
|
|||||
|
|
2005-06-26 | Tempel 1 |
Deep Impact |
Medium Resolution Instrument (MRI) |
512x512x1 |
|
|||||
|
|
2005-06-27 | Tempel 1 |
Deep Impact |
Medium Resolution Instrument (MRI) |
512x512x1 |
|
|||||
|
|
2005-06-28 | Tempel 1 |
Deep Impact |
Medium Resolution Instrument (MRI) |
480x150x1 |
|
|||||
|
|
2005-06-29 | Tempel 1 |
Deep Impact |
Medium Resolution Instrument (MRI) |
512x512x1 |
|
|||||
|
|
2005-07-01 | Tempel 1 |
Deep Impact |
720x540x3 | |
|
|||||
|
|
2005-07-01 | Tempel 1 |
Deep Impact |
Medium Resolution Instrument (MRI) |
720x169x3 |
|
|||||
|
|
2005-06-30 | Tempel 1 |
Deep Impact |
Medium Resolution Instrument (MRI) |
512x512x1 |
|
|||||

|
 |
|
|
 |
 |

|
| 1-100 | 101-200 | 201-300 | 301-400 | 401-500 |
| Currently displaying images: 301 - 400 of 473 |